Tag: digital art (Page 1 of 2)

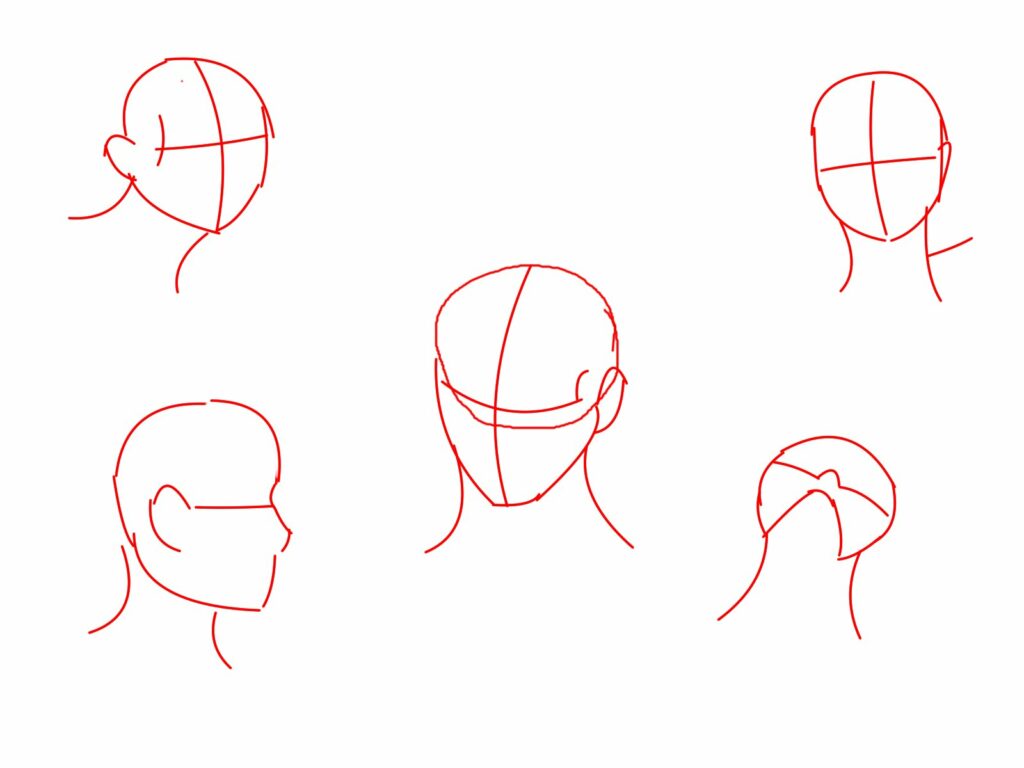
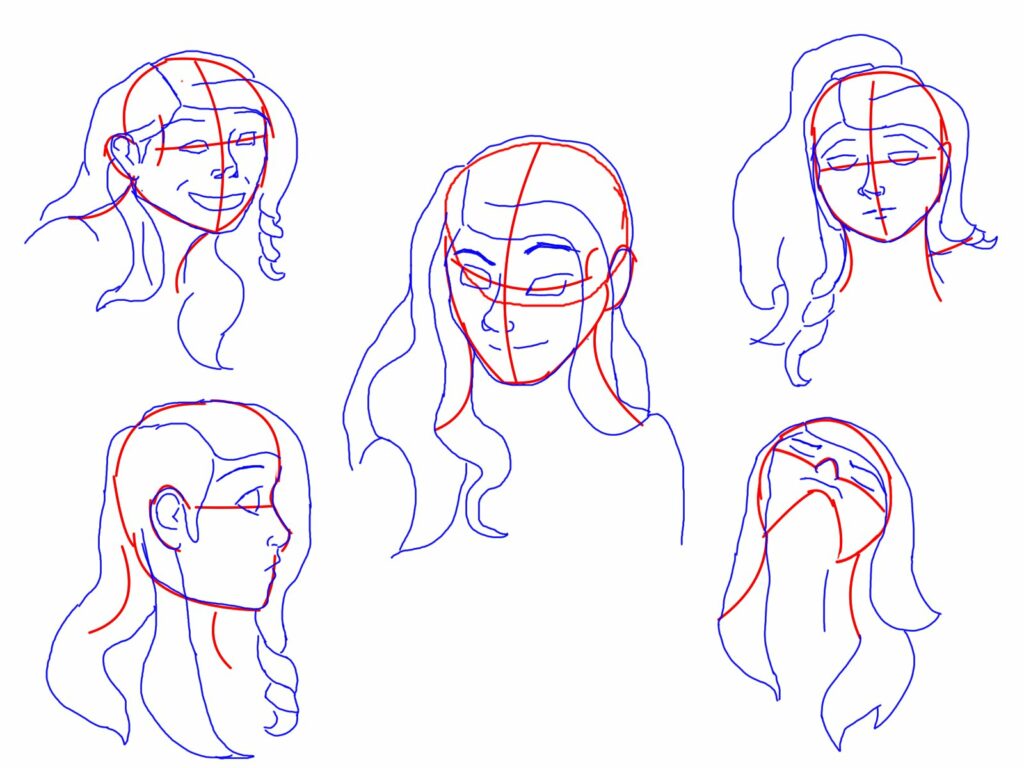
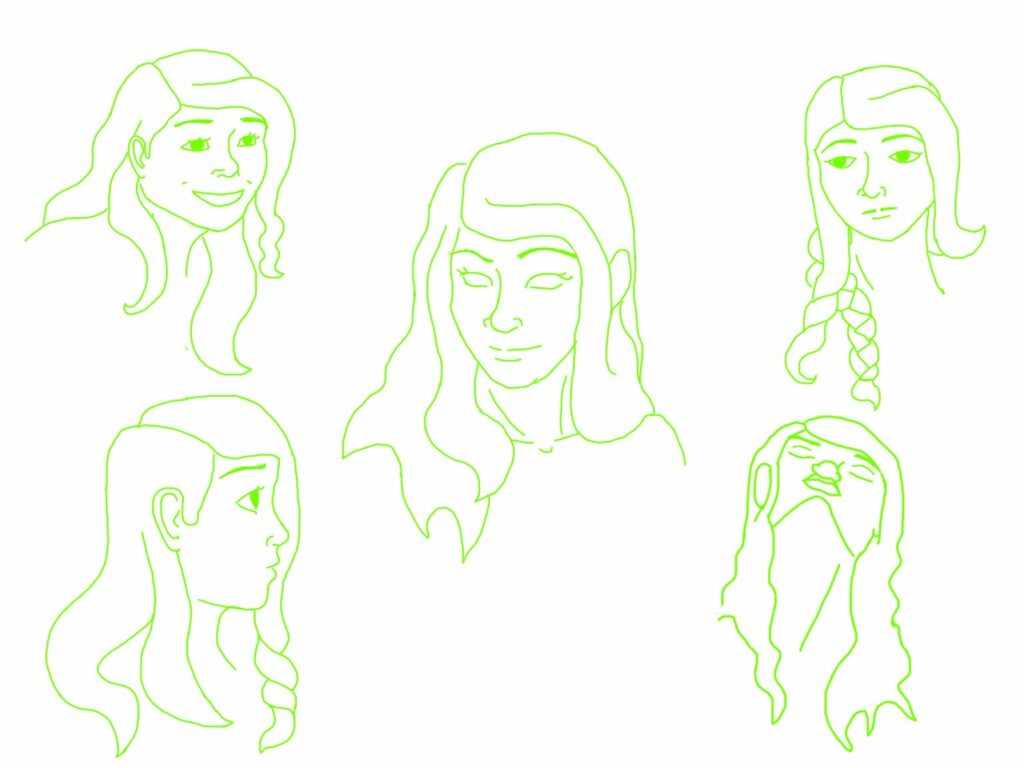
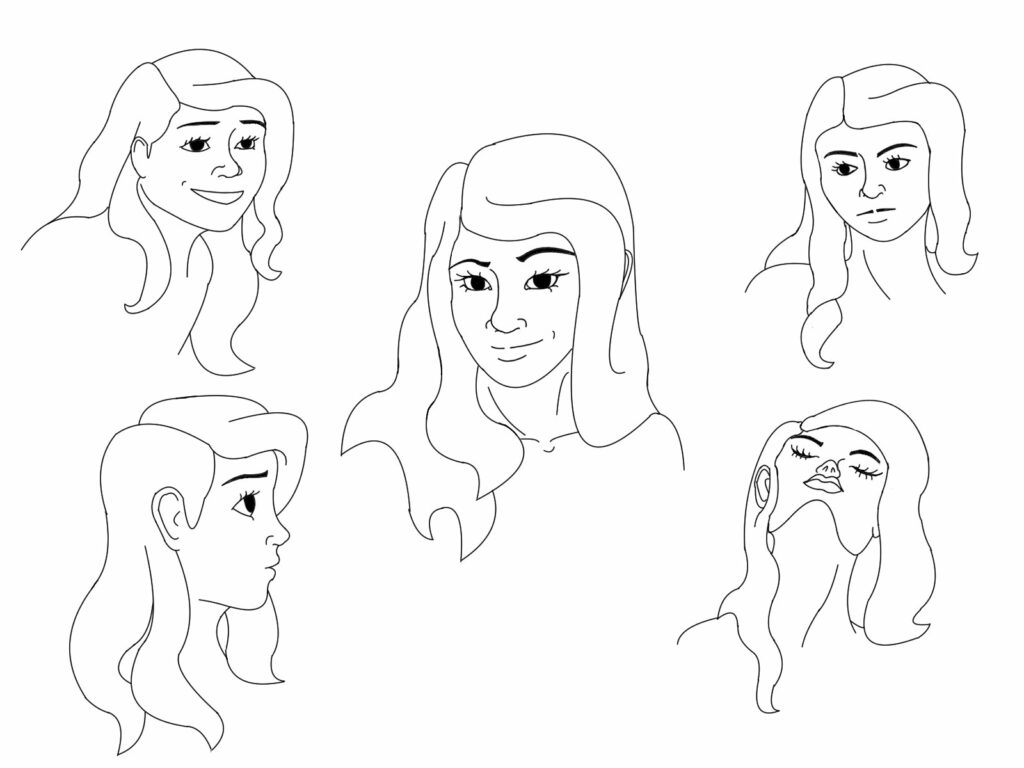
I have learned so much over my journey with digital art. I have focused on a variety of skills including anatomy sketches, line quality, shading, colour-picking, light sources, and background formation. I have had so much fun experimenting with different tools and techniques, but more than anything, simply practicing drawing every week has improved the confidence in my work to a visible degree. So many of the digital artists I watch talk about how getting a feel for the stylus is one of the most important early steps, as it is so different from working with a pencil and paper. The colouring process is also so radically different from my experience with coloured pencils and acrylic paints, but I found that it is so much easier. I really like how an artist is able to manipulate and change aspects after they’ve been added to a piece rather than having to redo them completely, such as by moving or resizing objects. I am so pleased with everything I’ve learned in this process and I look forward to improving even more!
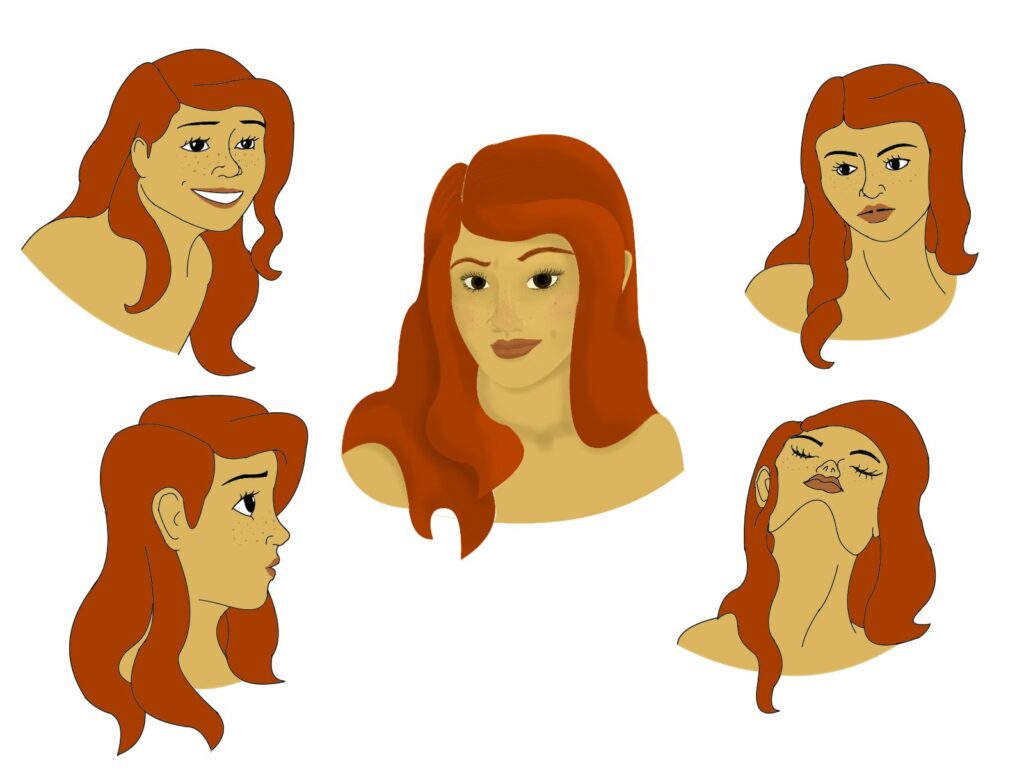
I’ve really enjoyed getting to colour in a character this week. While the outside four faces were simply flatted in (added using the filler tool without any shading or gradients) the face in the center is a lineless style incorporating lighting, shading, blending, and different hues. Though the central image took twice as long as all the others combined to colour in, it is definitely my favourite. I’m glad to have experimented with both styles, as both the simple flats and more complex style can be used in different situations. I would definitely use the simple, flat style when creating character designs or artwork for a specific purpose, but if creating a piece just for the sake of the art itself, I would want to be more detailed and complex to add depth to the piece.

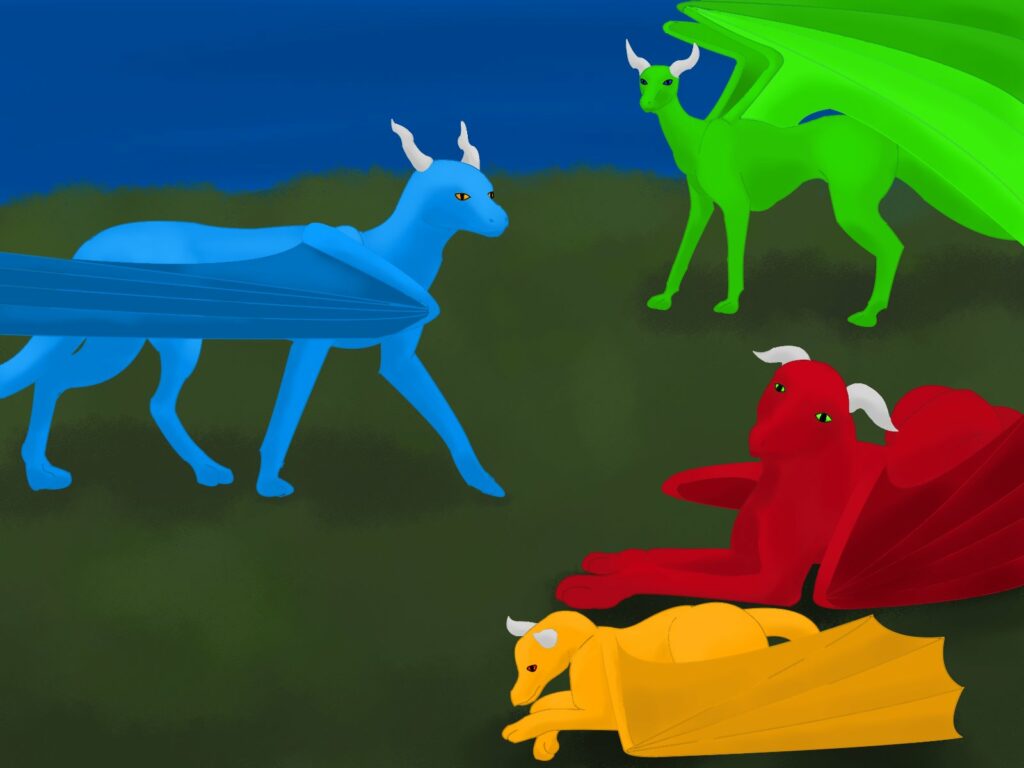
I was able to use some new tools, specifically the airbrush and dry paint brush, to shade the figures and create the simple background. I created over ten different layers to make sure everything was working without clipping into each other, and I had a lot of fun! I’m excited to work more with different tools this upcoming week as I begin making human characters.

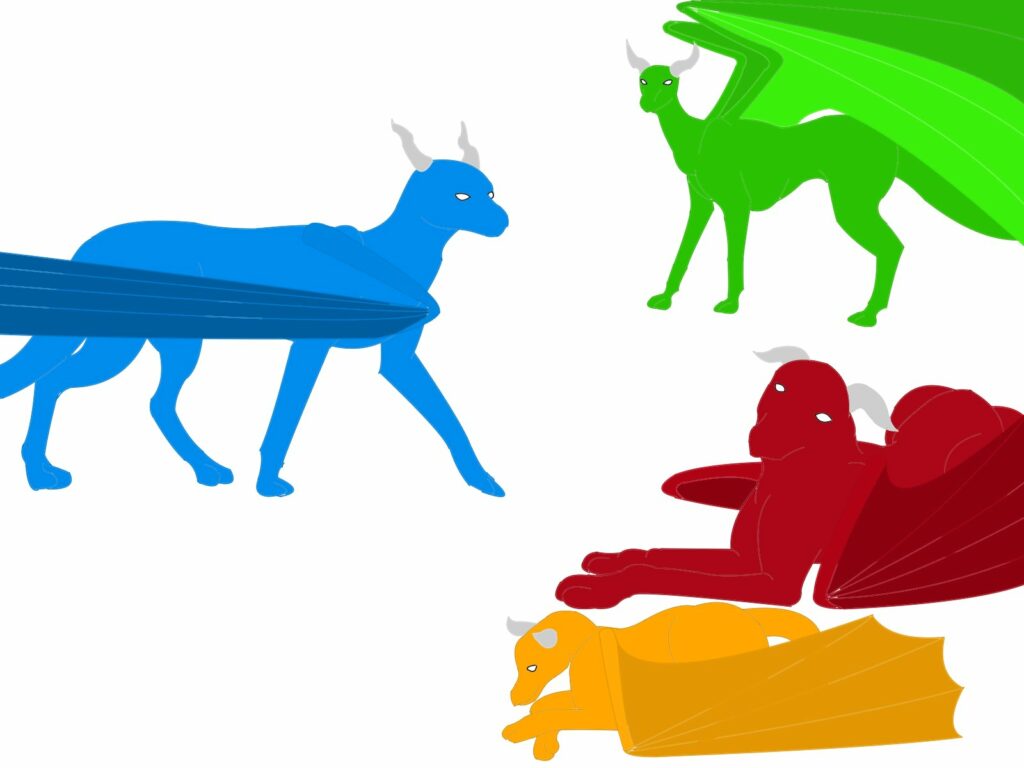
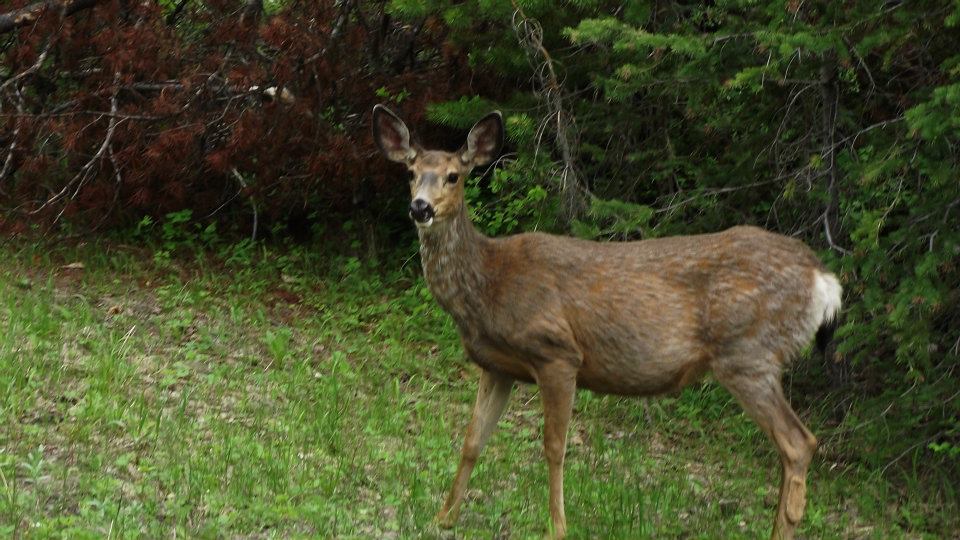
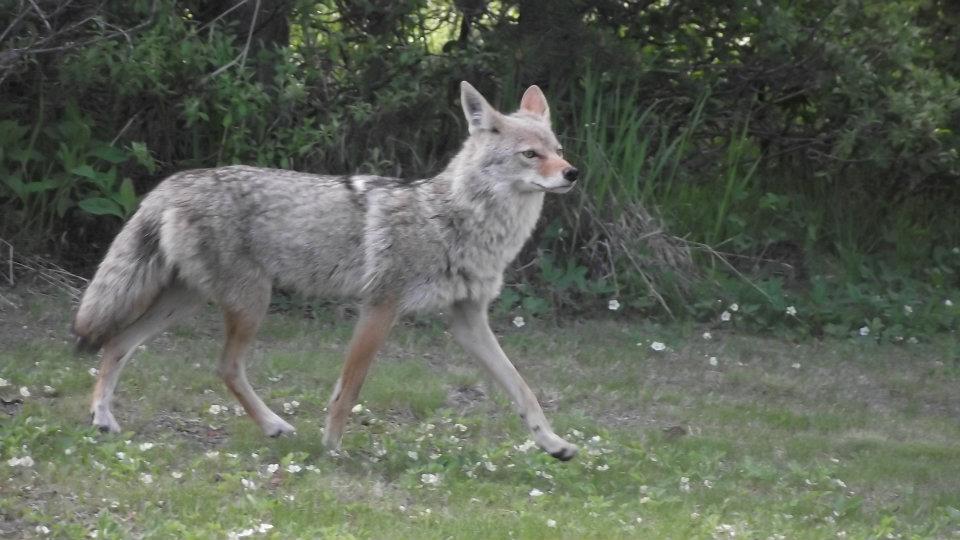
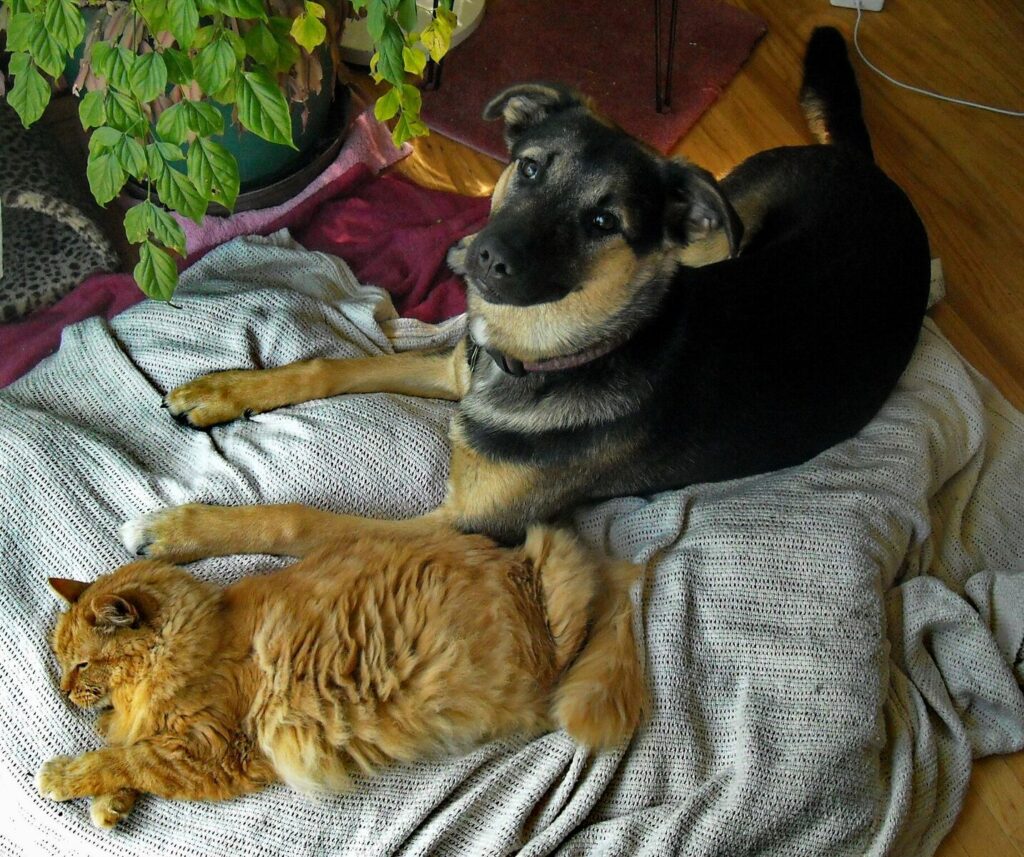
The dragons have well and truly arrived this week, and took me much longer to work on than I was anticipating. I used a reference photo of a coyote and a deer which I took in Yellowstone National Park, and a photo of my childhood cat and dog to create a scene with multiple dragons. Now that I have their outlines down, I will be working on shading and smoothing the textures of each dragon, and adding a background to make it a proper scene!

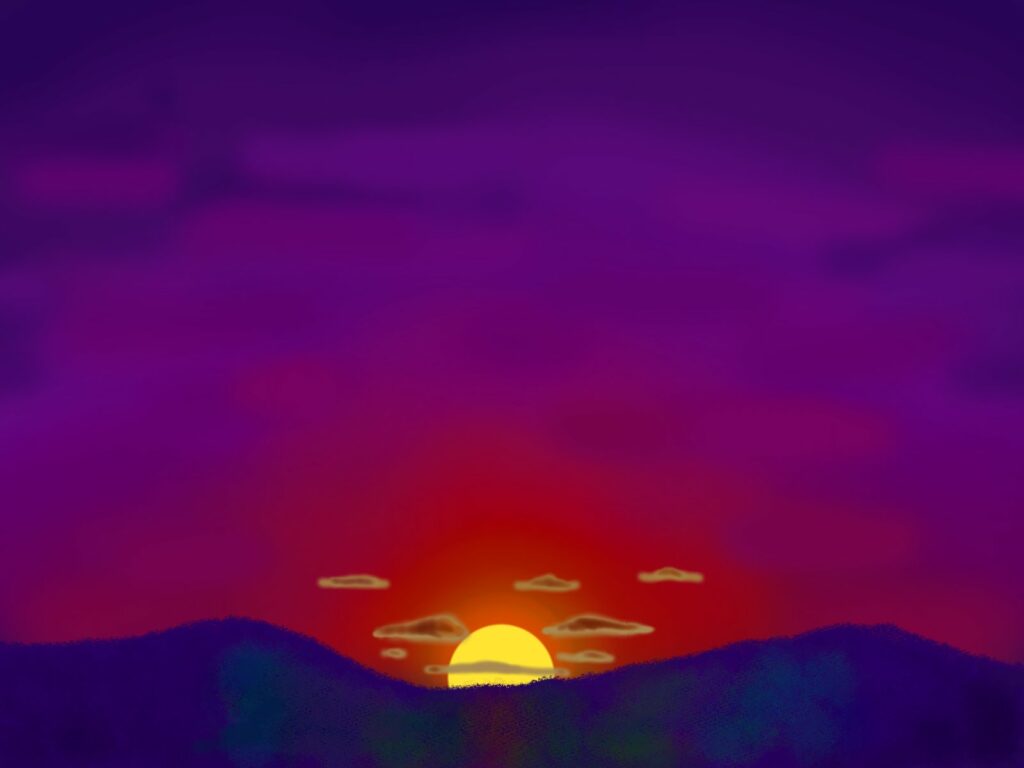
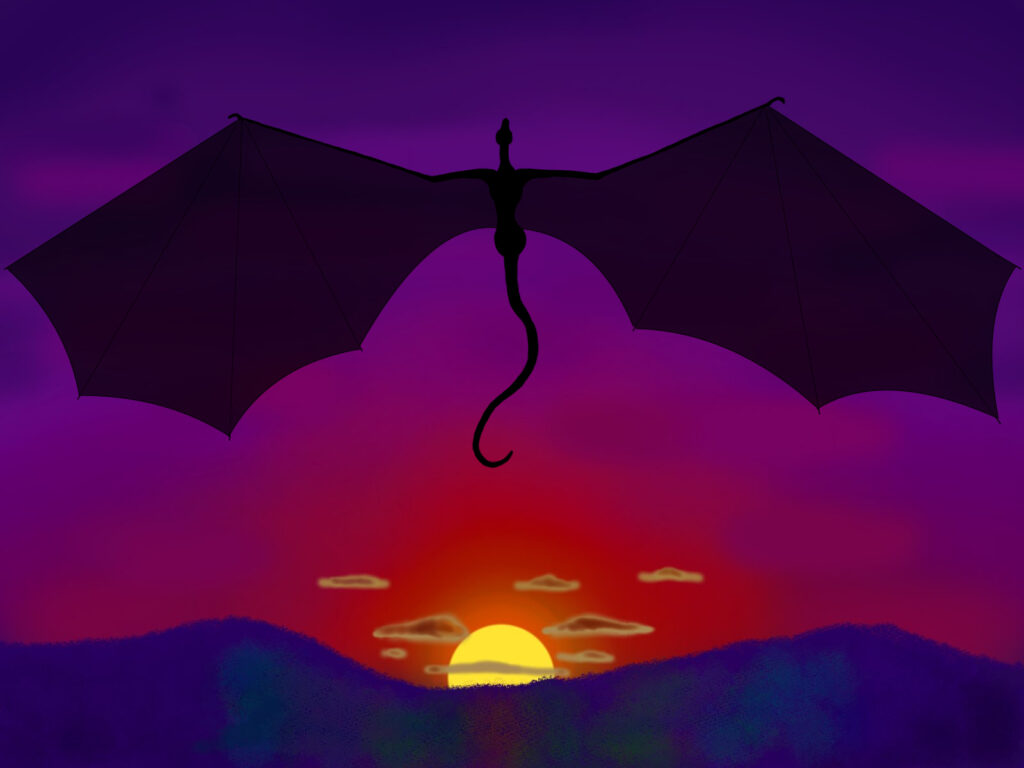
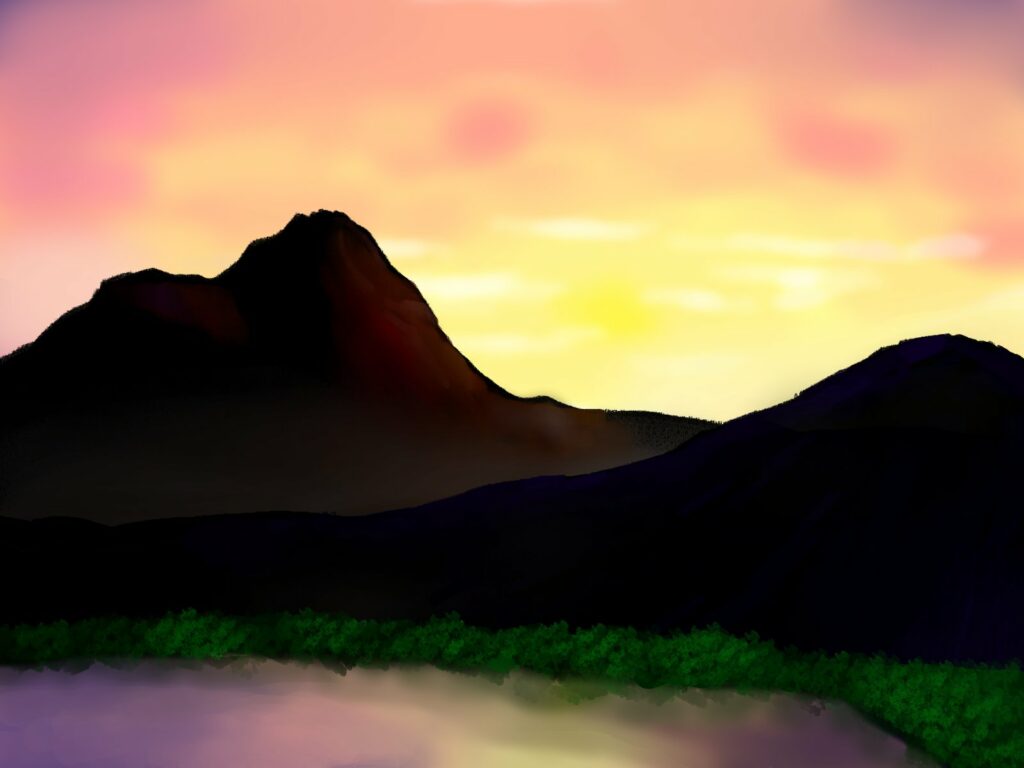
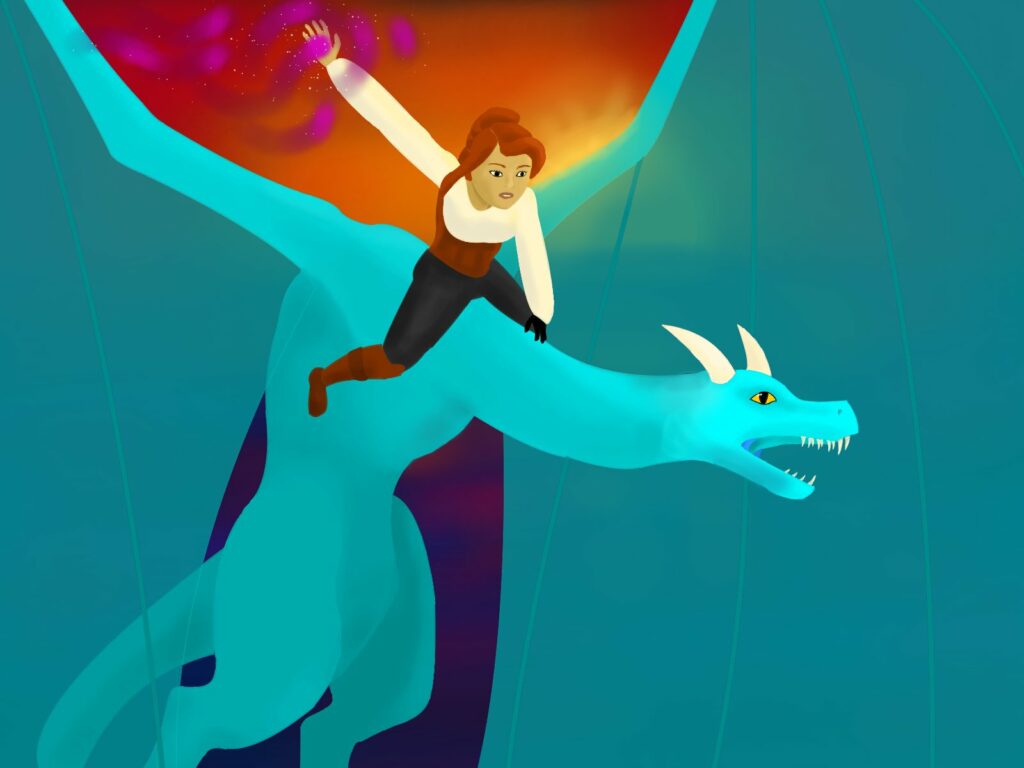
I have been working on my colour theory this week, and it ended with a sunset landscape that I’m pretty happy with. I decided to add a dragon as my first piece with both background and figures. I want to work more on backgrounds with multiple aspects. such as both mountains and closer forests, or islands and water, which is my goal for this upcoming week. I will also be looking into how figures in a piece interact with the light sources in the backgrounds! I created the dragon shape on my own, but I’m going to be consulting the video below for next week’s dragons.

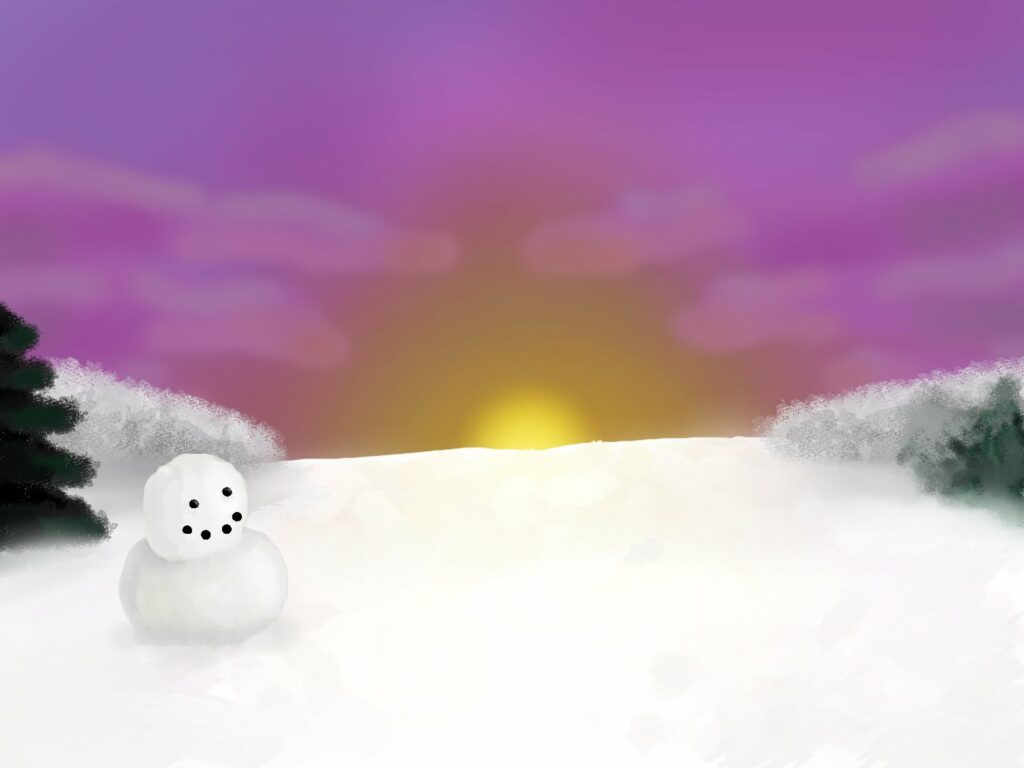
Although I want to begin fully colouring character sketches soon, I thought that I should probably start by colouring landscapes to learn how different colours interact with each other in a scene. As I found out with the first snowscape on the left, colours can look washed out or wrong when in the wrong combinations, and must be adjusted accordingly. I was able to make more adjustments on my second attempt for the mountainscape on the left, and I’m much more pleased with the results. This second attempt is based on one of Bob Ross’s tutorials in the Joy of Painting. I’ll definitely be using his advice more in the future!

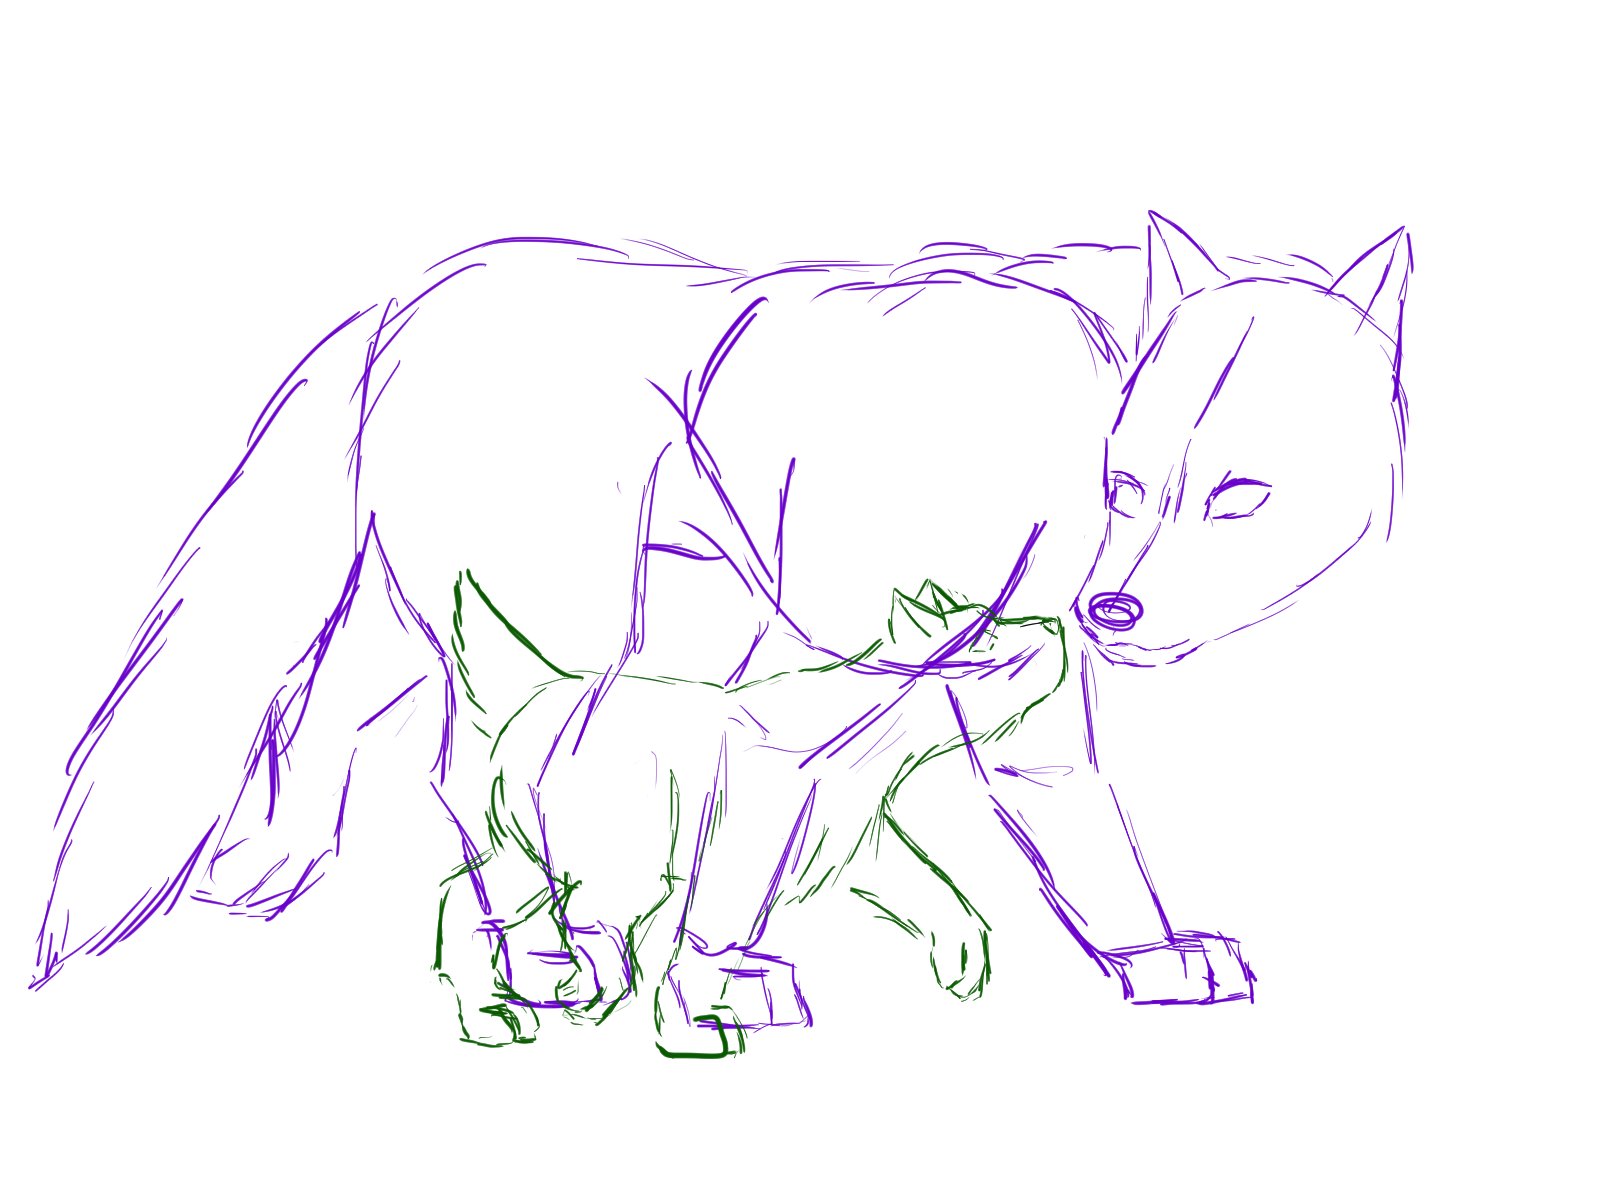
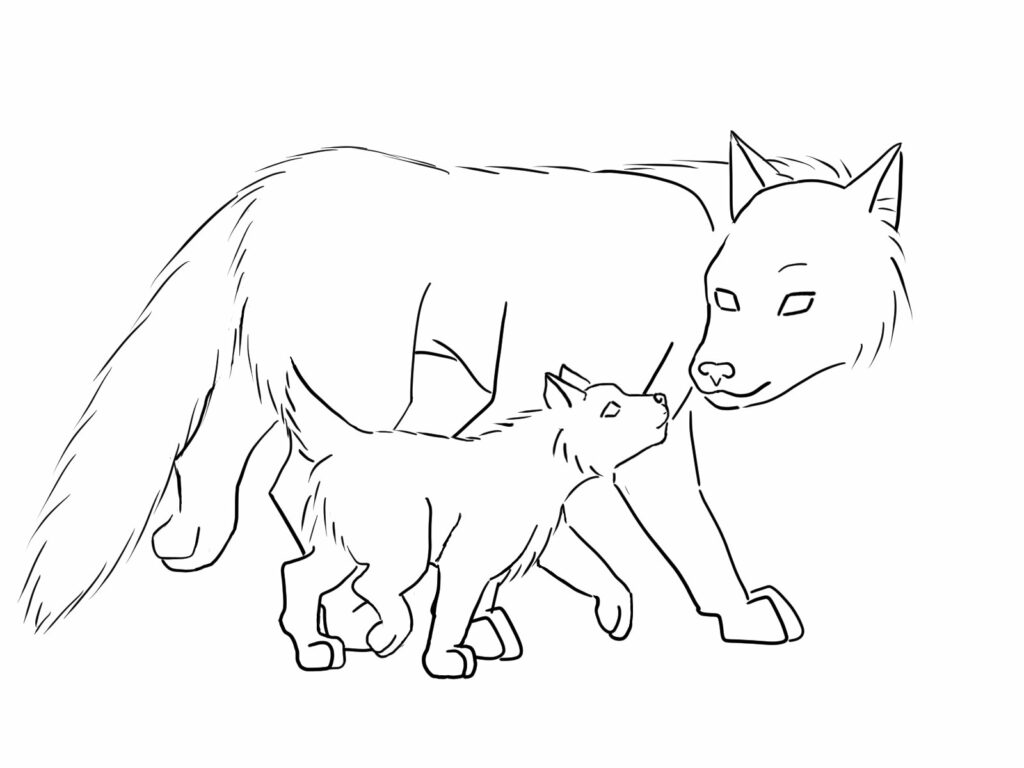
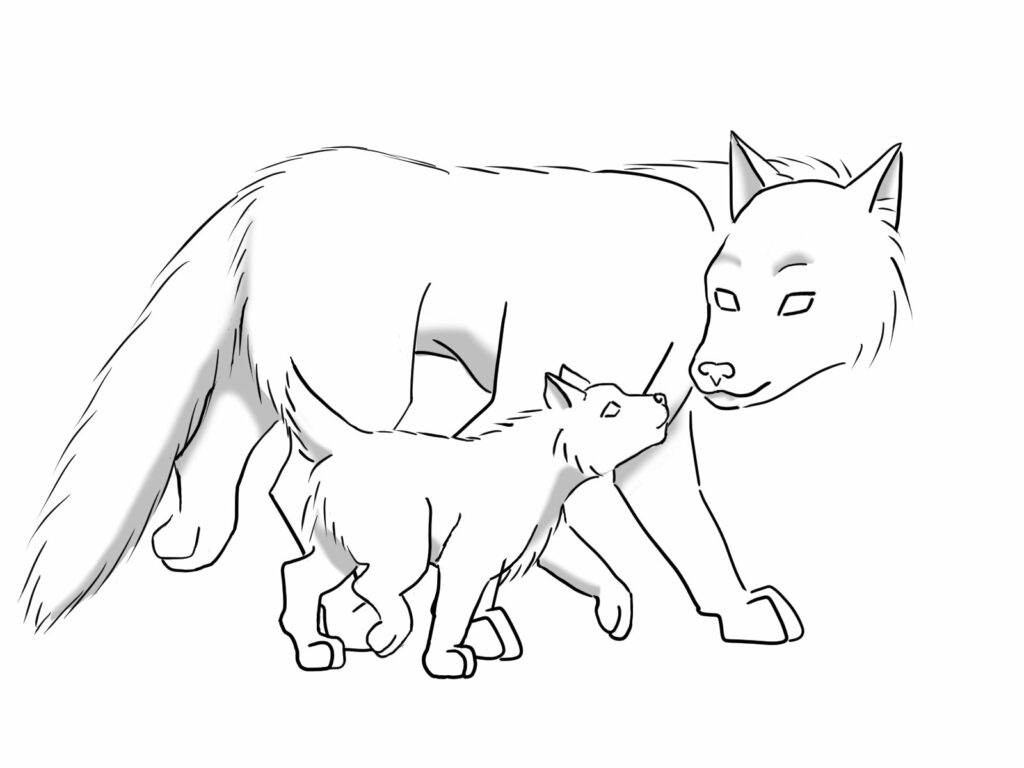
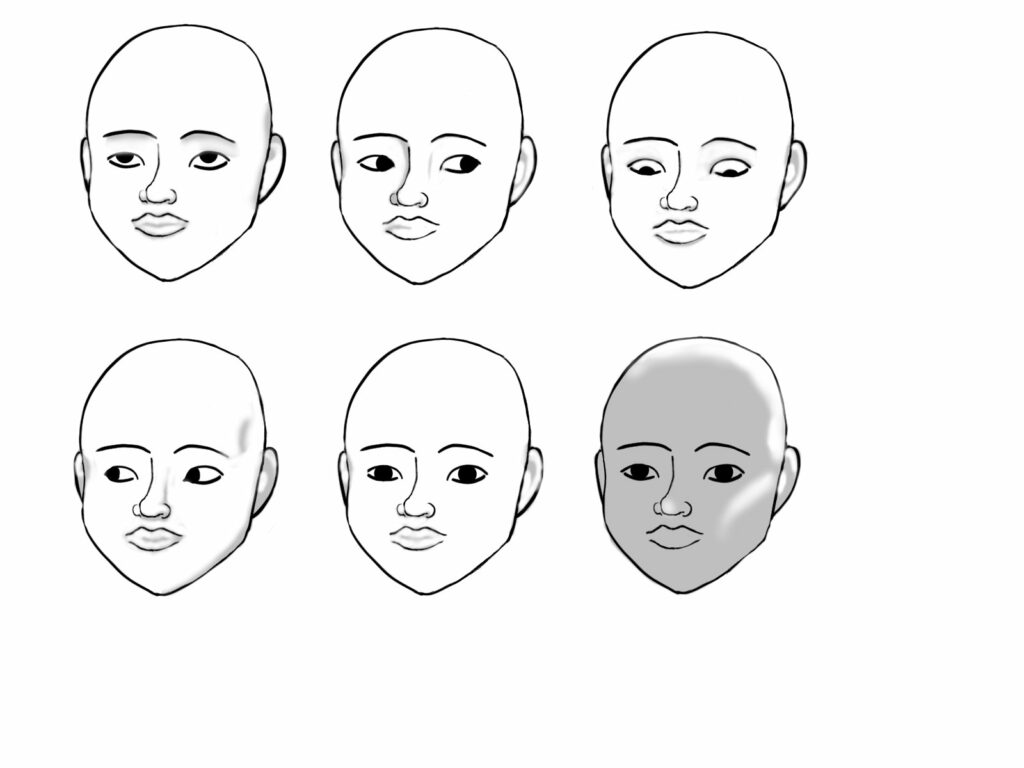
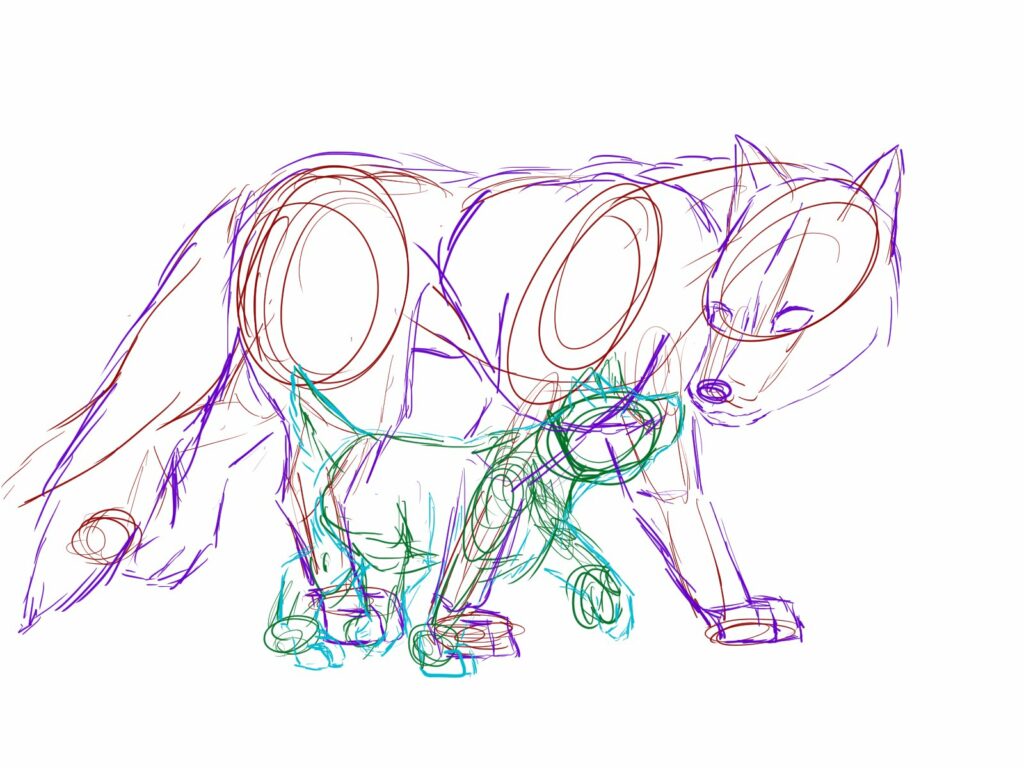
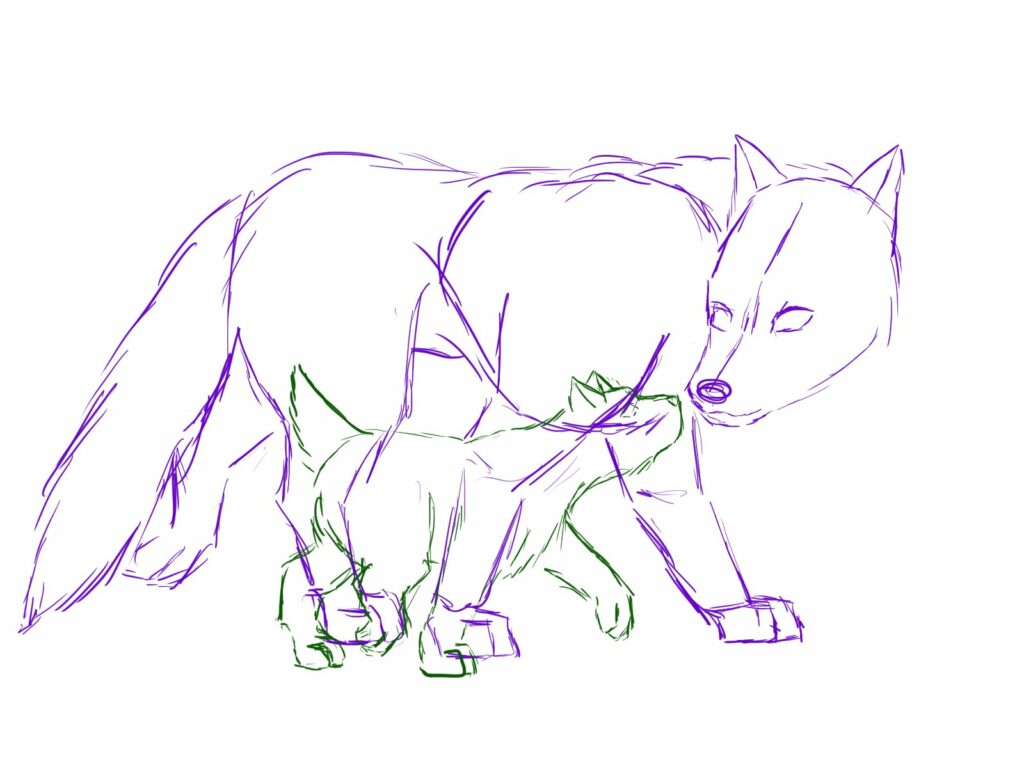
I started my practice this week by working on line art and shading on this image of a wolf and pup. I was mostly focusing on shape language and basic shading. While I’m not the happiest with the results, I think it went well for my first attempt at both this kind of figure work in digital art and my first ever attempt at shading this way. After that, I did several hours’ worth of practice on line quality and shading by looking at human face anatomy. I made six identical faces and tried out shading using six different light sources, as indicated by the direction the eyes are looking. The picture below is the result of this practice. I am very pleased with the progress I can see between the wolf piece and the face piece, and I am excited to keep on learning more.

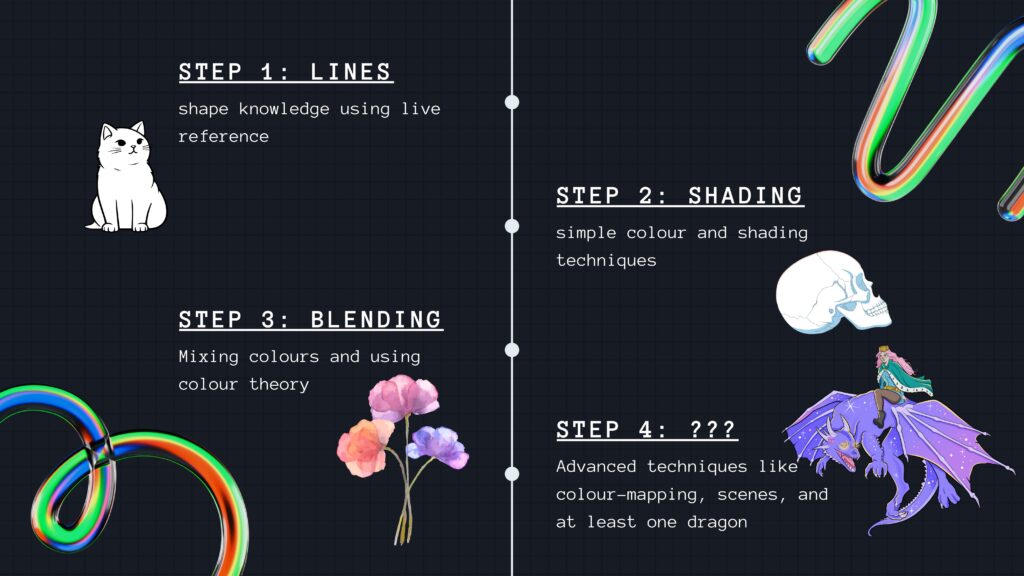
Step 1: Spend almost three (3) full hours installing, uninstalling, reinstalling, and updating software, including restarting your computer at least four (4) times

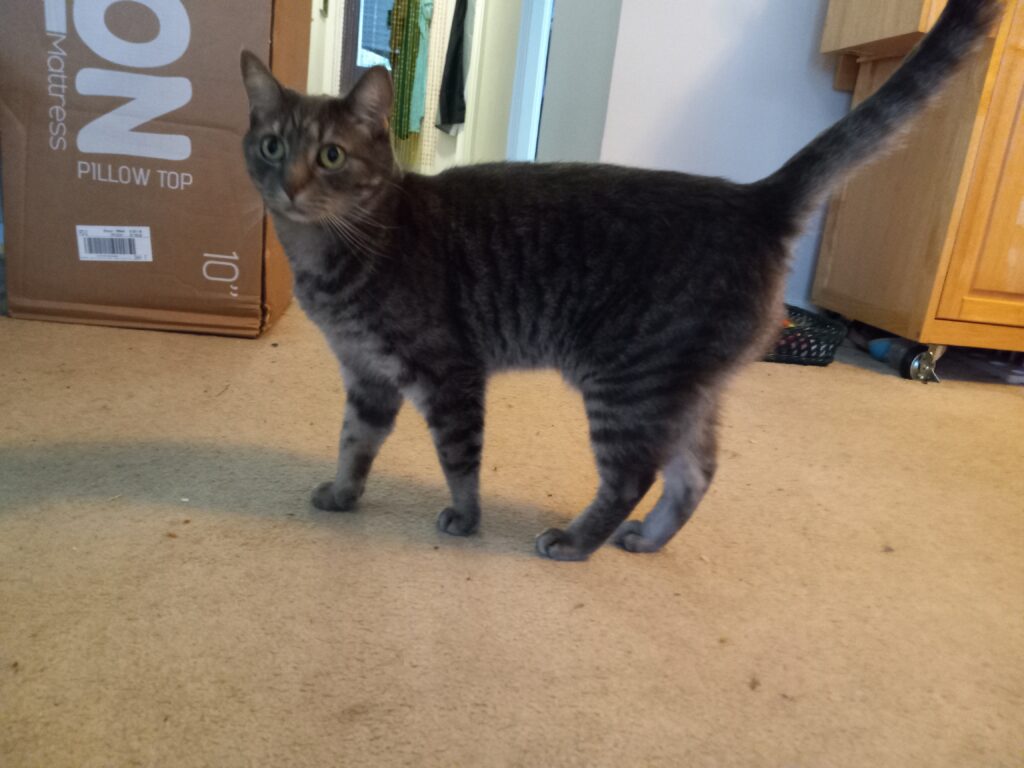
Step 2: Acquire a reference model of your uncooperative cat

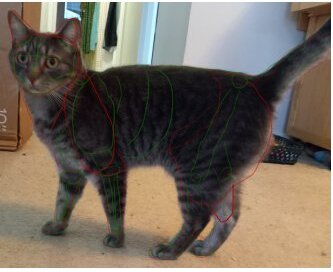
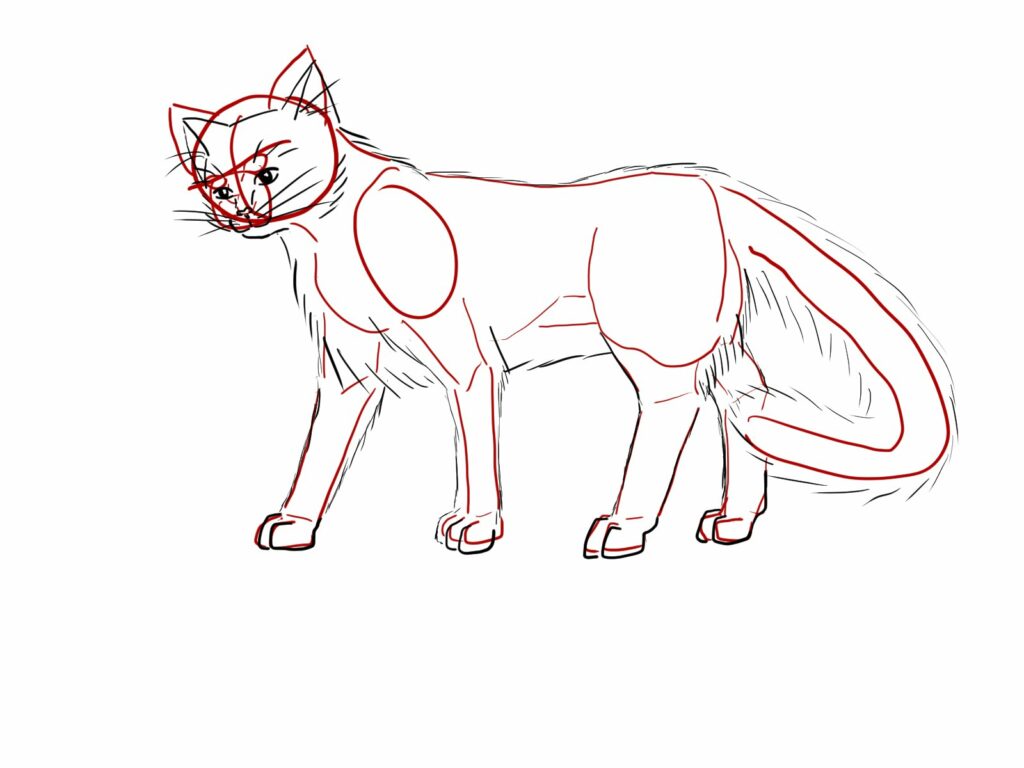
Step 3: Outline the shape language of your cat in red and the skeletal features in green

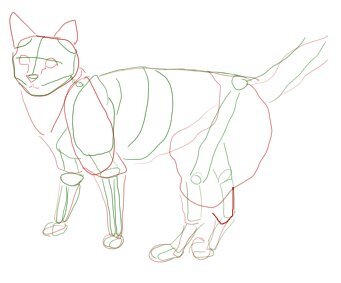
Step 4: Remove the picture of the cat from underneath the sketch layers

Step 5: Stare in horror because WHAT IS THAT? That’s so bad! Should you give up now?

Step 6: Remember that this is your first time using this software, and start practicing so you feel less like a toddler with a crayon

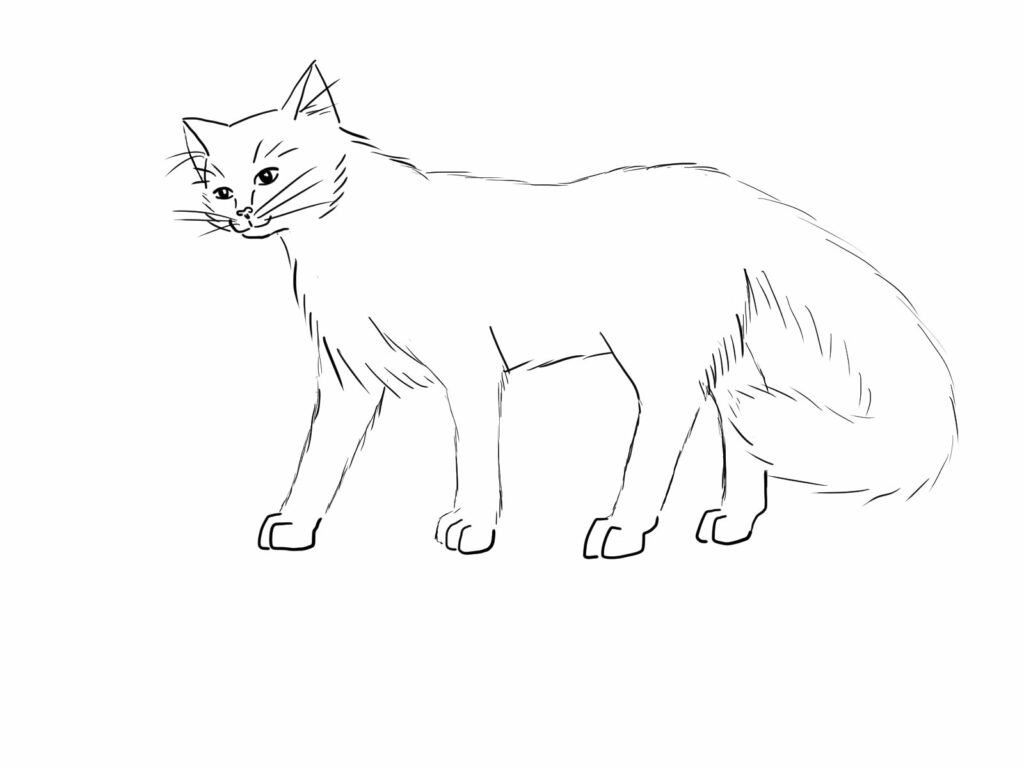
Step 7: After a second under-sketch and the first attempt at real line art, there is already visible progress. Being able to move portions to fit better (I moved the head down and readjusted the eyes in the second layer) is so incredibly helpful

Step 8: Make a motion sketch layer and under-sketch layer to practice more line art and for starting shading next time

Remember that even if your first try at something doesn’t turn out the way you want it to, it’s still the start of your journey! You can only improve from here!

« Older posts

© 2024 EDCI 336 Blog

Theme by Anders NorenUp ↑